Flutter on Fire: Connect Your App to Firebase Now!
Table of contents
- Step 1: Create a Firebase Project and Initialize it in your flutter app
- Step 2: Setup Flutter Project
- Step 3: Add Firebase core plugin to your Flutter
- Step 4: Initialize Firebase in your terminal.
- Step 5: Connecting your Flutter project to Firebase
- Step 6: Final Step: Initialize Firebase in our main.dart
Step 1: Create a Firebase Project and Initialize it in your flutter app
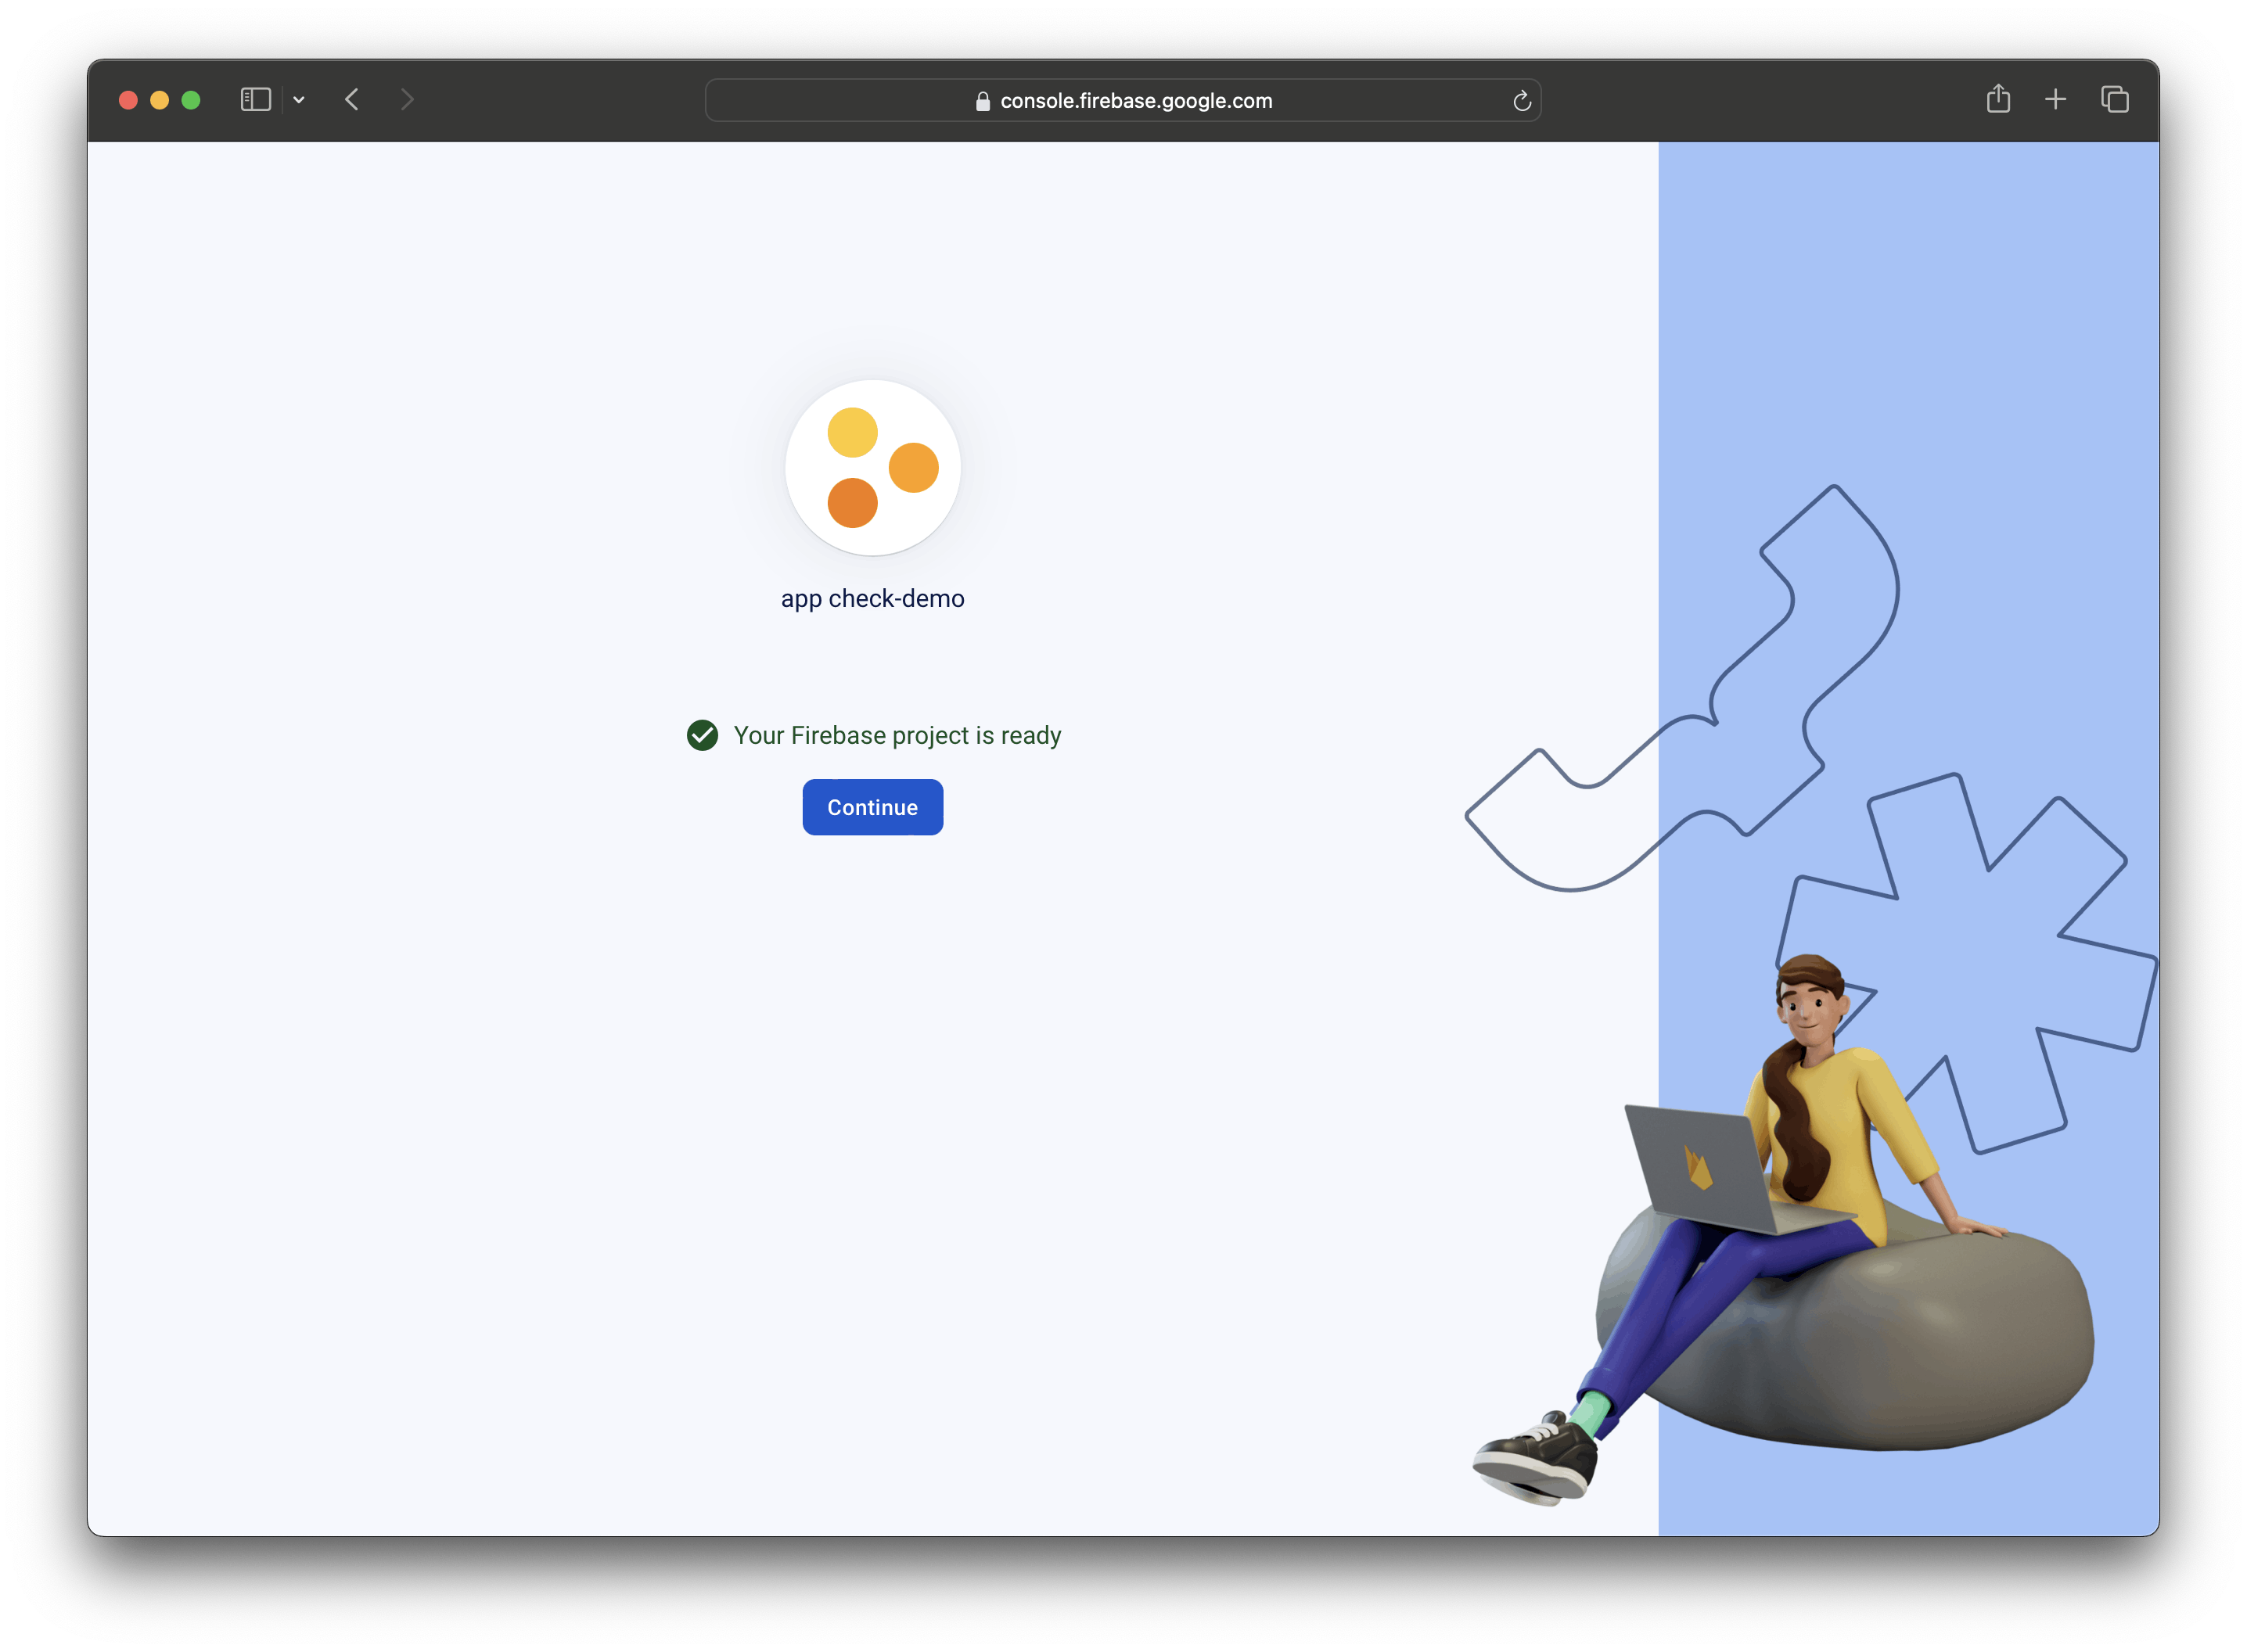
I know you all know this already but just to be sure go ahead and create a firebase project. In my case I am using a project I just created for this purpose:
Step 2: Setup Flutter Project
You can either use your existing project or create a Flutter project either from Android Studio or Visual Studio Code or IDE of your choice. But this the terminal command to create a Flutter project named app_check_demo for iOS and android.
flutter create app_check_demo --platforms android,ios
This is my main.dart from the default starter project. I just moved MyHomePage() to another page to get concise code here.
import 'package:flutter/material.dart';

void main() {
  runApp(const MyApp());
}

class MyApp extends StatelessWidget {
  const MyApp({super.key});

  @override
  Widget build(BuildContext context) {
    return MaterialApp(
      title: 'Flutter Demo',
      theme: ThemeData(
        colorScheme: ColorScheme.fromSeed(seedColor: Colors.deepPurple),
        useMaterial3: true,
      ),
      home: const MyHomePage(title: 'Flutter Demo Home Page'),
    );
  }
}
Step 3: Add Firebase core plugin to your Flutter
We have to add the latest firebase_core into our pubspec.yaml . So in our project terminal run the following command:
flutter pub add firebase_core
This is the terminal output:

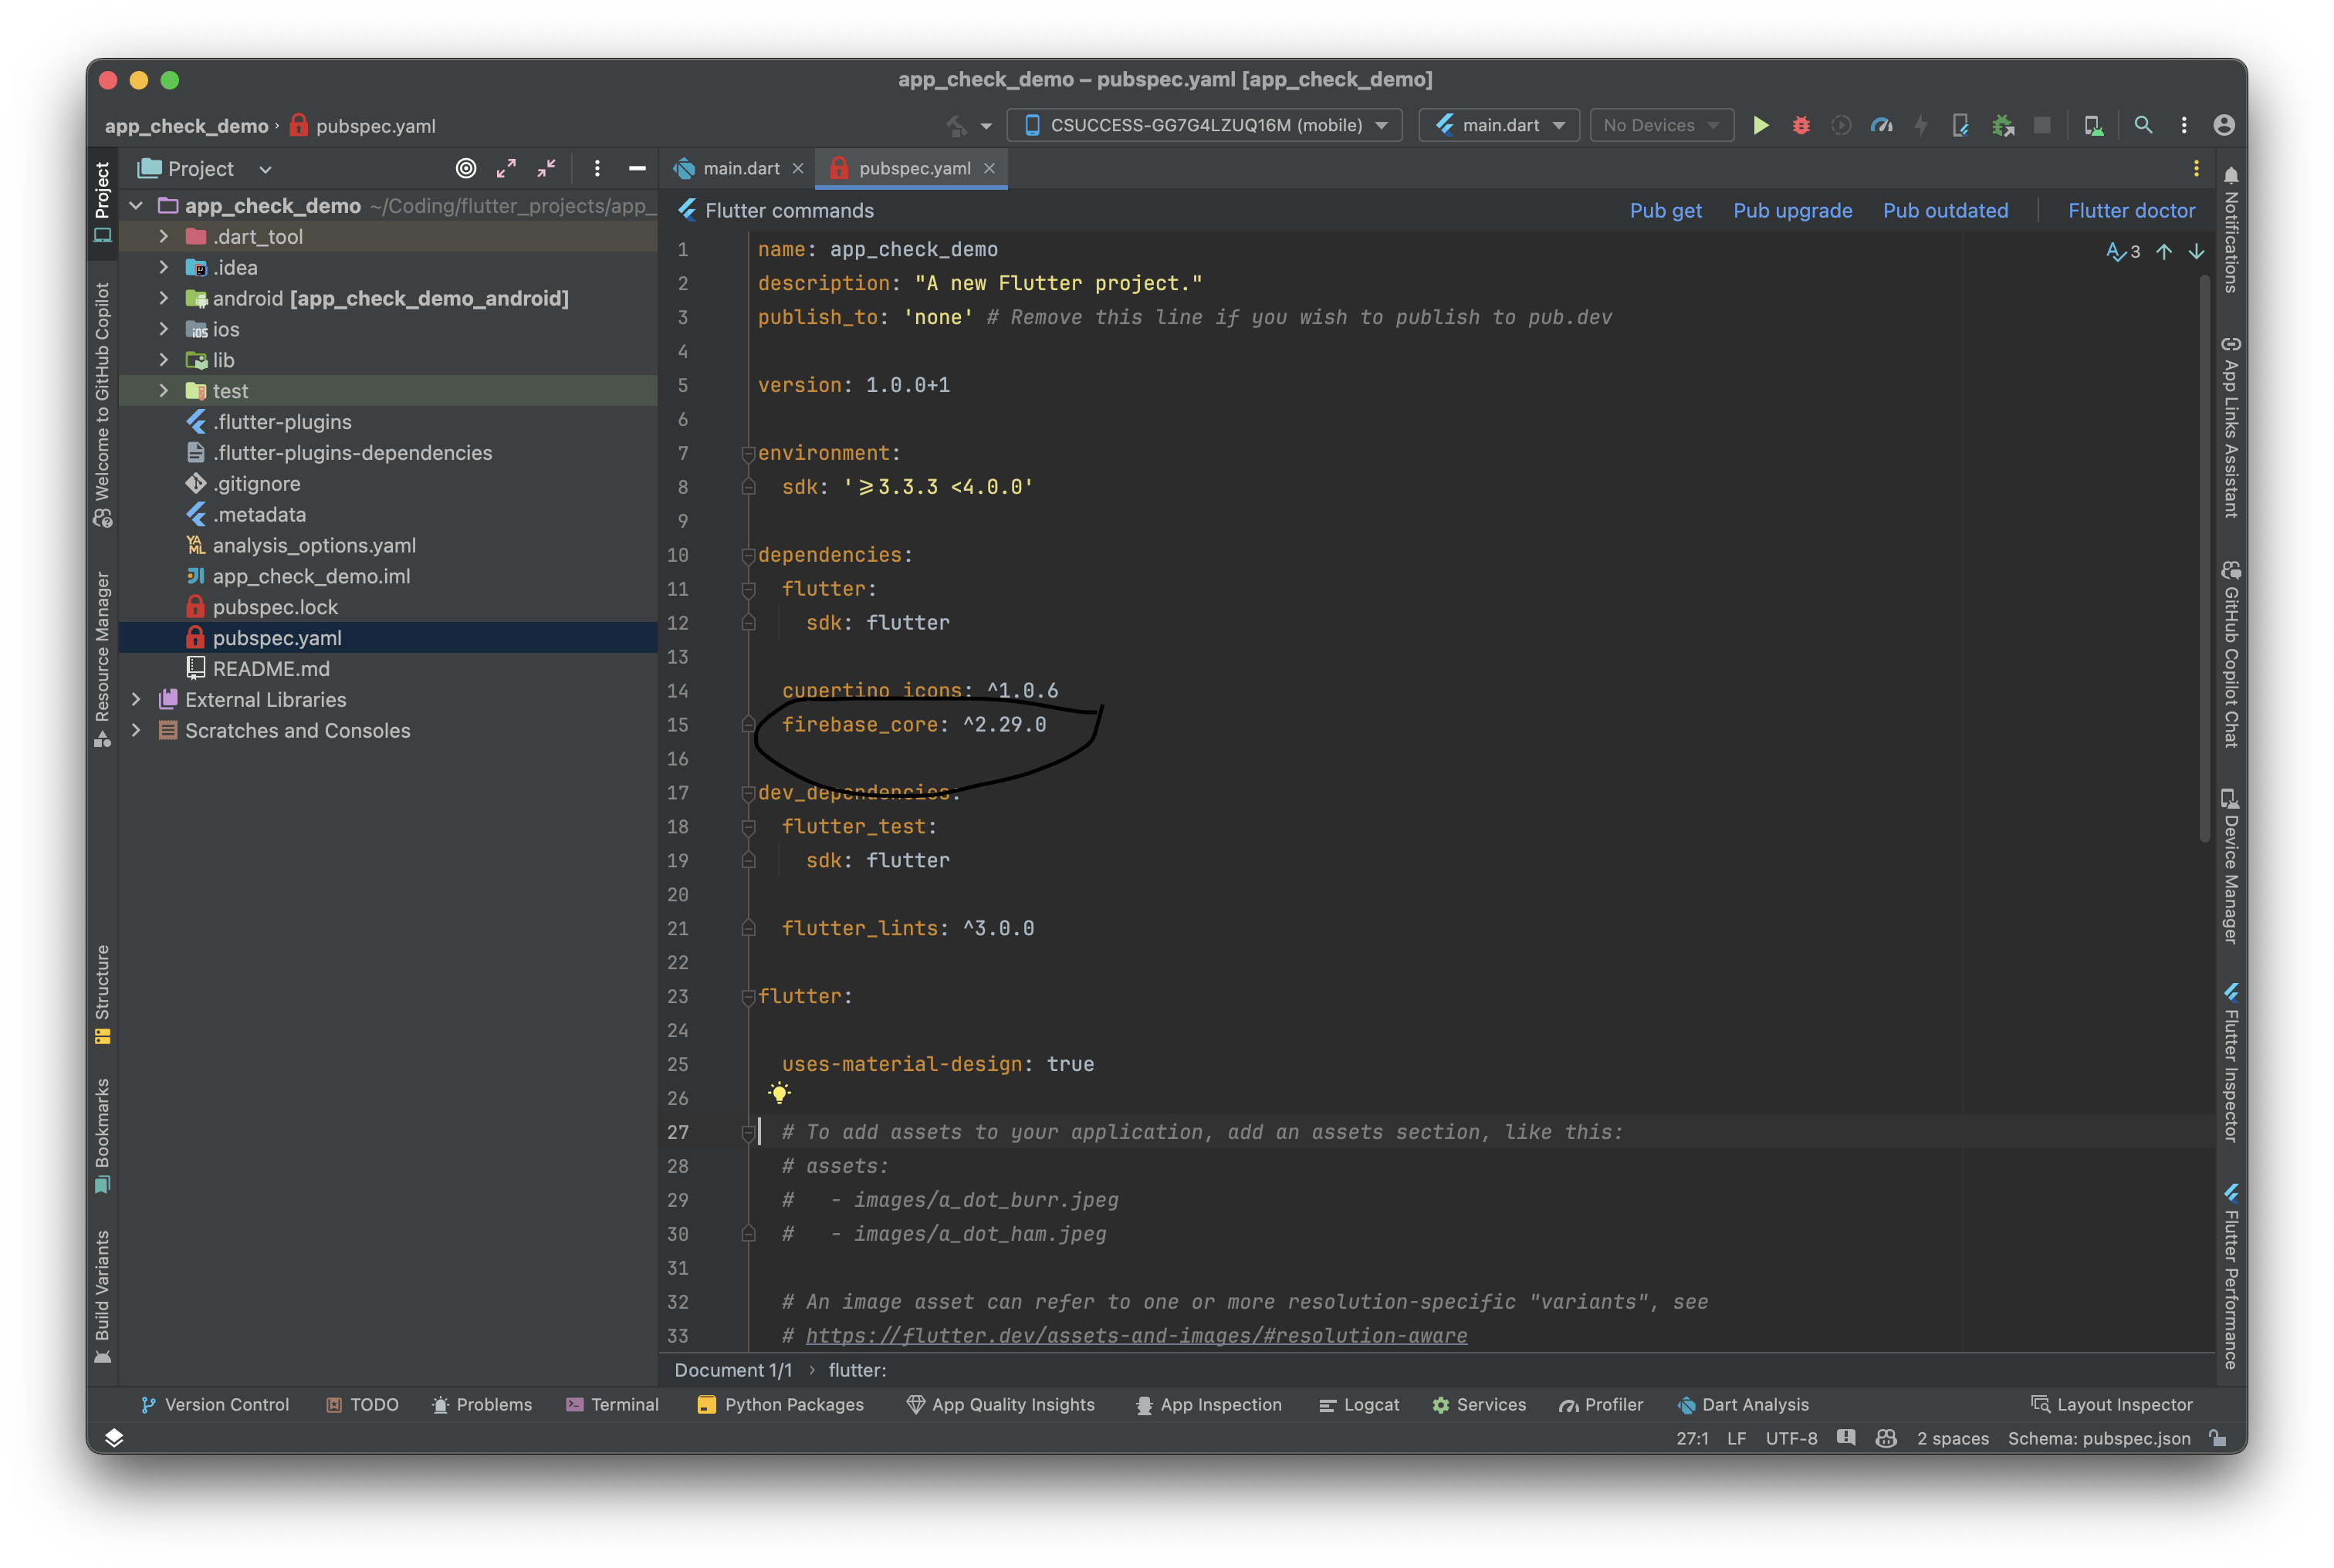
Here's the firebase_core in my pubspec.yaml . Do note that firebase_core your version might be different from mine as it gets updated regularly.
Step 4: Initialize Firebase in your terminal.
In order to have complete control over Firebase, I'd generally recommend installing Firebase tools into your terminal. Here's how to do it.
Note: You can run the following commands from anywhere.
Using npm:
npm install -g firebase-tools
You can check out Firebase docs for alternate installation methods.
Login to Firebase: Once it's installed log into Firebase using your Google account by running the following command:
firebase login
The above command connects your local device to Firebase.
See Firebase Projects: You should be able to see all your firebase projects in your terminal with the next command:
firebase projects:list
Step 5: Connecting your Flutter project to Firebase
Note: You have to run the following commands from your project root folder.
Activate FlutterFire: FlutterFire is a tool that helps us with connecting with firebase right from our terminal. So to activate the FlutterFire run the following command:
dart pub global activate flutterfire_cli
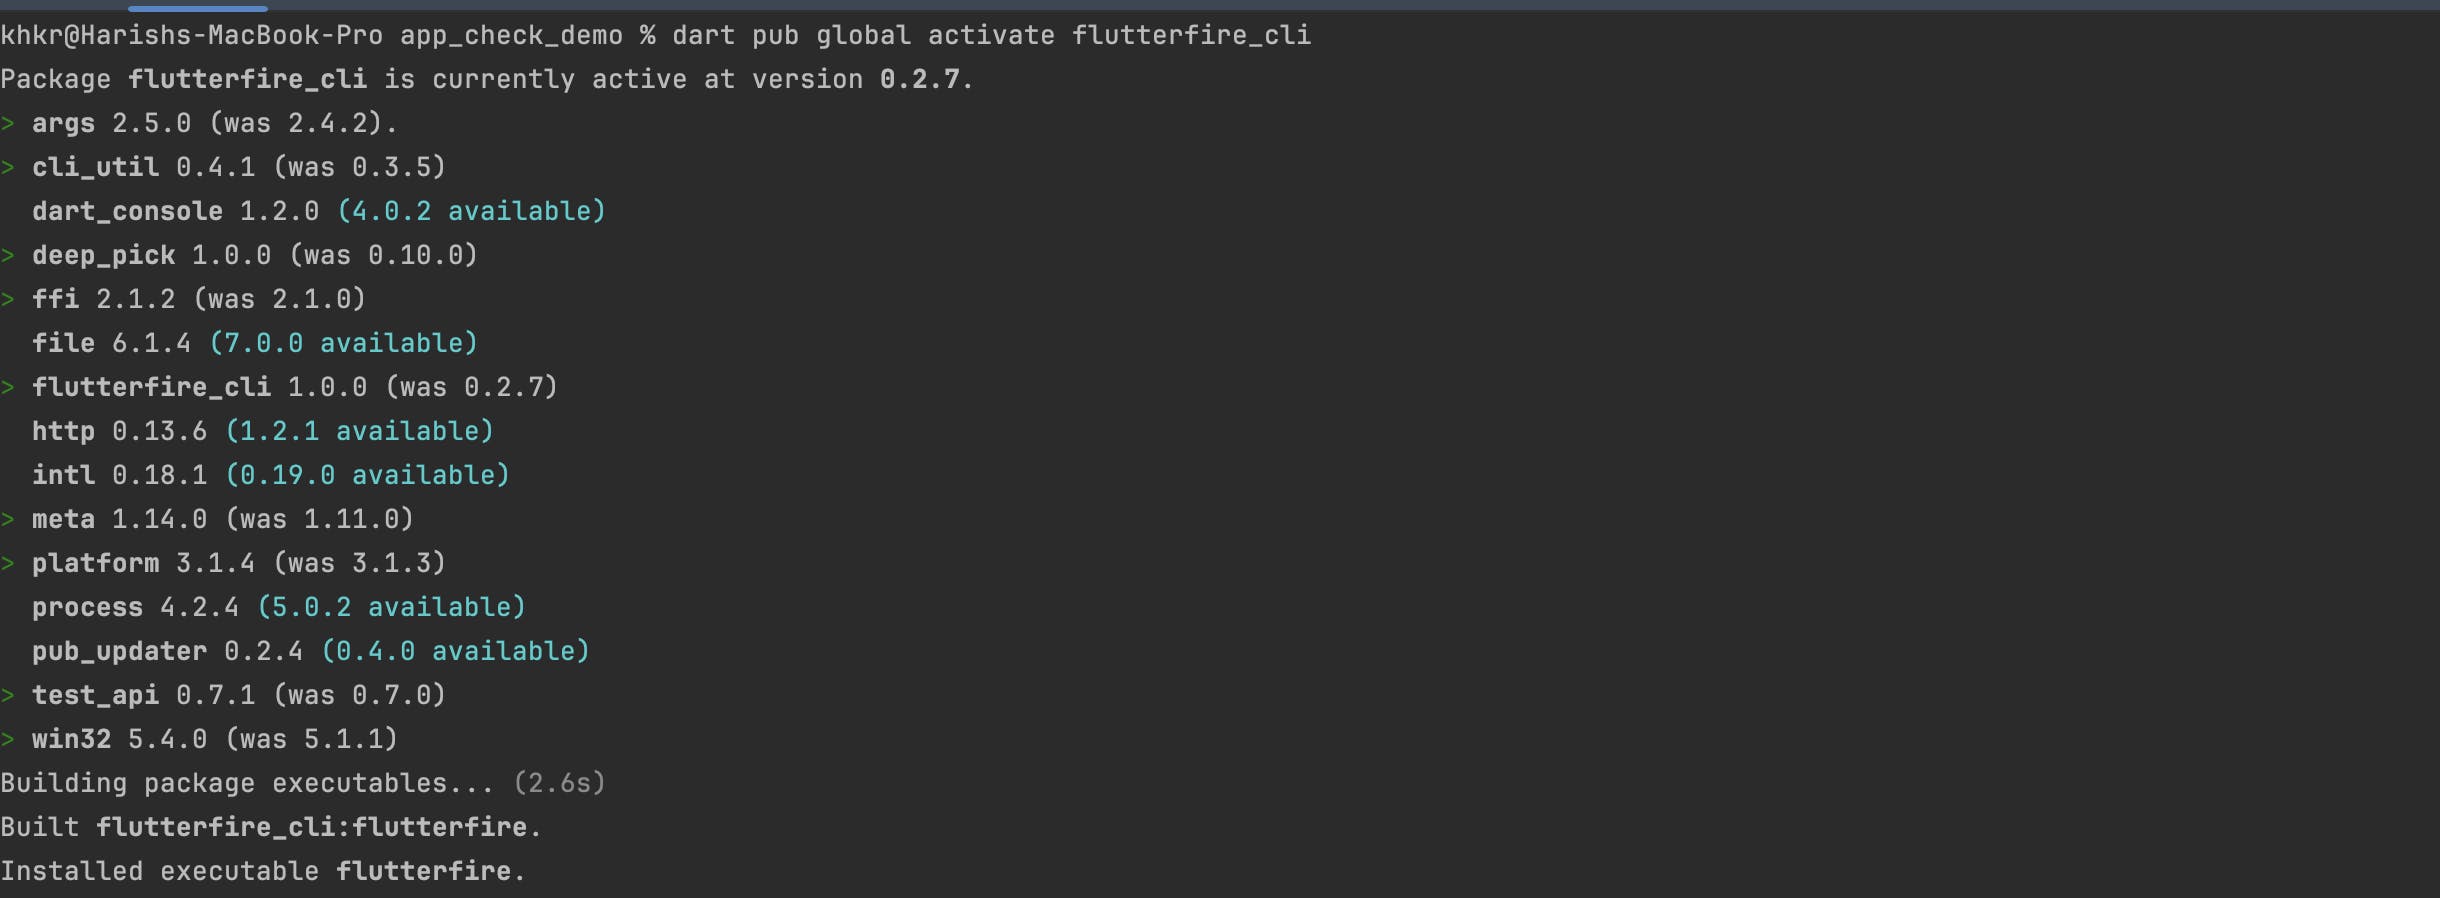
This is the output from my terminal:
Connect Flutter apps to Firebase:
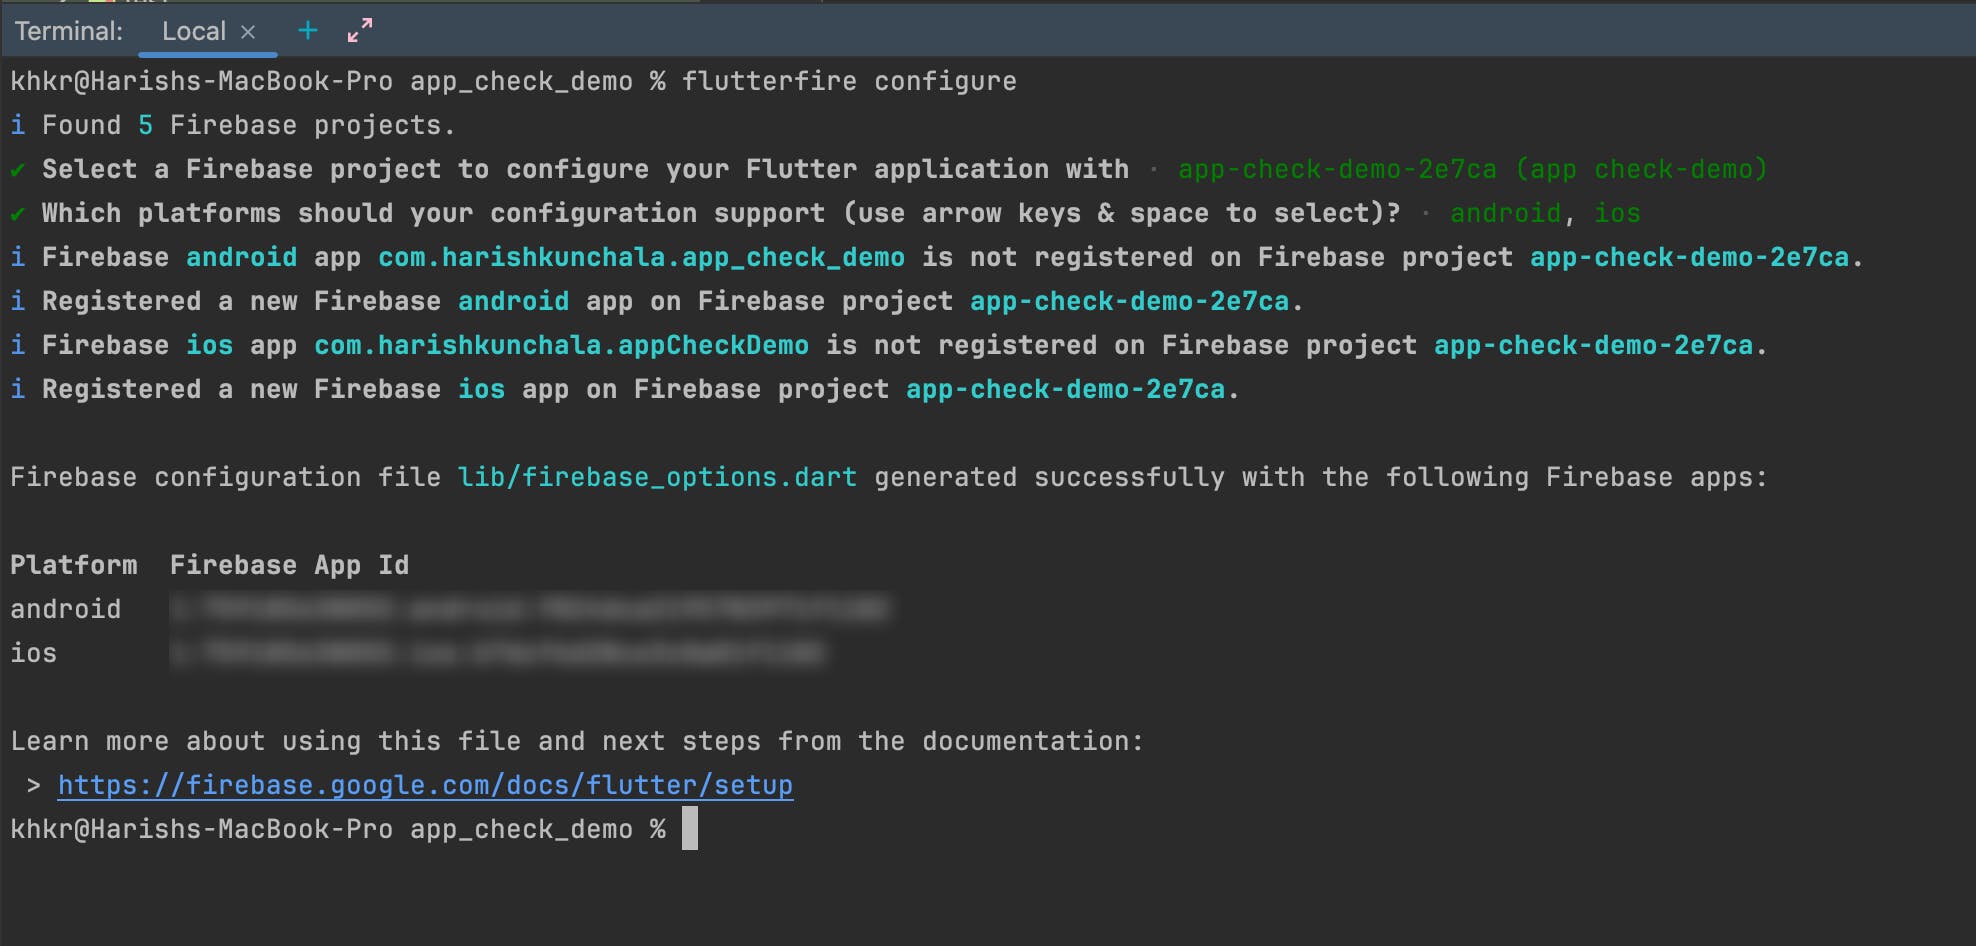
flutterfire configure

After you select the project you change choose which platforms you want to support. In our case we are supporting Android and iOS:

After you confirm the platform. FlutterFire will automatically setup everything in our Firebase project
Step 6: Final Step: Initialize Firebase in our main.dart
You just need to add the following lines to your main.dart:
void main() async {
  // Ensure that Firebase is initialized
  WidgetsFlutterBinding.ensureInitialized();
  // Initialize Firebase
  await Firebase.initializeApp(options: DefaultFirebaseOptions.currentPlatform);

  runApp(const MyApp());
}
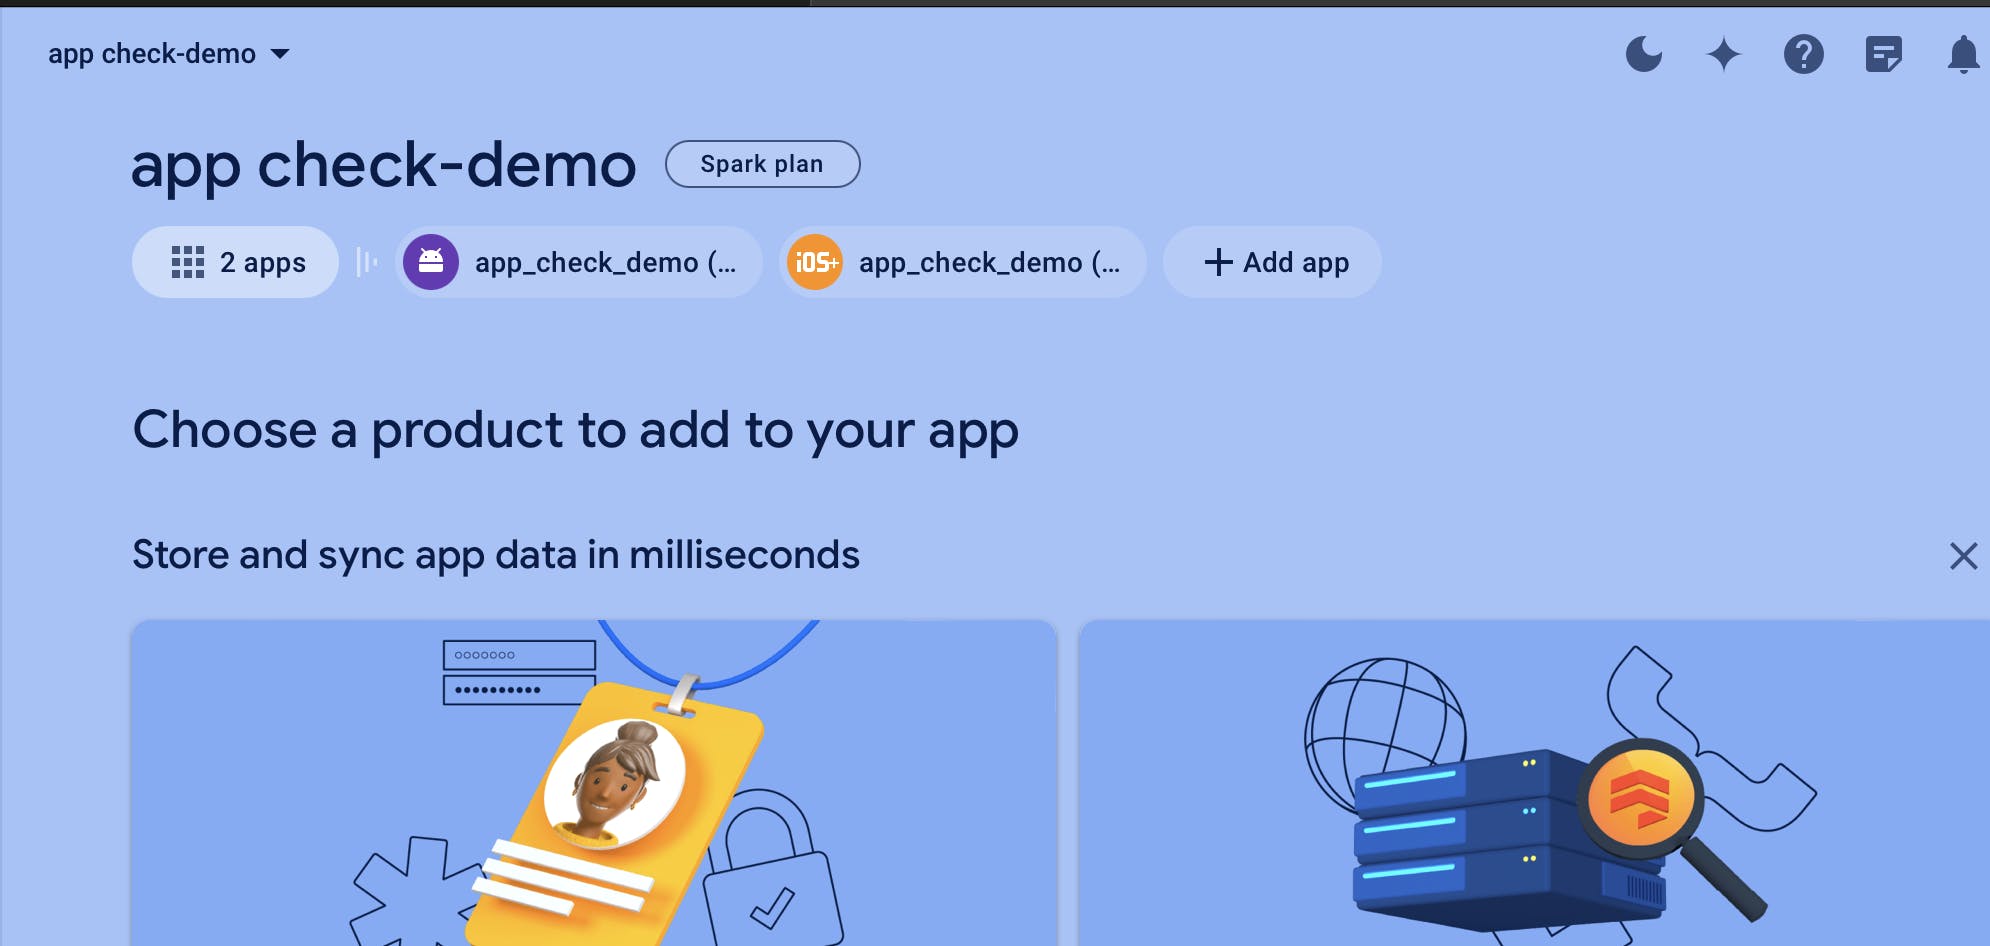
There you go your Flutter apps are officially connected to your Firebase Project. You can check them out in your Firebase project console:
