Hosting your Flutter Web App on Firebase: Step by Step including Github Actions
There are several popular ways to host your Web Apps such as AWS, GCP or even Digital Ocean (Which I am a huge fan), nothing beats the simplicity of hosting on Firebase Web and it's free for the most part.
Introduction:
Firebase Hosting not only provides a secure, fast, and reliable environment for your web apps but also simplifies the deployment process, allowing you to focus more on developing great applications. Whether you're looking to scale your app seamlessly across the globe or ensure it remains secure against threats, Firebase Hosting has you covered. Let's get started on turning your Flutter project into a live web application accessible worldwide.
Section 1: Prerequisites
Flutter Web App:
My previous article should explain how to create a Flutter app and connect it to Firebase. But in there I only opted for Android and iOS. So all we have to do is go to Project's root directory and run the following command:
flutter create .
This will re-generate the project with any missing platform folders. If web support isn’t enabled, this command will set it up.
Run flutter devices to ensure that a Chrome or web-server device is listed, indicating that you can run your Flutter app in a web environment. You should see something like this:

Run Flutter Web App: To see our app in action run it in a web browser using the following command
flutter run -d chrome
You can also build a release version of your web app by running flutter build web. This command compiles your app to JavaScript and prepares it for deployment on a web server.
Firebase CLI
Firebase CLI version 12.1.0 or later. Make sure to install the CLI using your preferred method.
Setting Up:
Initializing web hosting
In the Firebase CLI, enable the web frameworks preview:
firebase experiments:enable webframeworks
This is my output:

Now we can initialize the firebase hosting. From our project root directory run the following command:
firebase init hosting
Now let's go through each prompt one by one as this is really important and we shouldn't get anything wrong.
Step by Step Hosting Prompts:
First it'll ask us to choose the Firebase project that you want to initialize the hosting one. Make sure to choose the correct Firebase Project.
It'll ask us for a location for our hosting. Generally in your case it's best to choose the location where majority of your customers are based. In my scenario I'll choose
us-west1 (Oregon).

Automatic builds and deploys with Github:
- This is the next prompt we get:

If we select Yes: After a successful build, Firebase will automatically deploy the newly built version of your app to Firebase Hosting. This means your updated app will be live and accessible through the web without you needing to manually deploy each change.
If we select No: Without automatic builds and deploys, you will handle the process yourself every time you want to update your web app. This typically will involve many steps that can be explored in this article:https://harishkunchala.com/efficient-manual-deployment-of-firebase-web-to-hosting-a-step-by-step-guide
Once I select. yes. It'll upload our Service account to Github repo's secret store.

It'll open your browser and you'll have to connect your GitHub account

Choosing the Repository:
After our successful login, it'll ask us to choose the repository where our project is located.

Once we select the GitHub repository. It'll automatically add the GitHub service account and upload your service account JSON to Github.

Workflow to run build script:
The next step would be to choose the workflow to run our build script before every deploy:

We cannot run npm ci && npm run build as our's is not a Node.js project
Which is why we have to run flutter build web

Github Workflow for Pull Request
Then it'll setup the Github Workflow file for a PR. Where in Whenever there is a pull request it'll run the build.

Once we select Yes, it'll ask us to choose a branch where it would run the build.

If your default branch is main, press Enter. Else type the name of the branch.
That's it we are pretty much done. Now we still have to do two important things as show in our terminal:

Revoke Firebase CLI authorization:
Since we are done setting up the hosting for our app along with automatic builds. It's a good security practice to remove Firebase CLI access to our GitHub. Which is why when I click the URL. I get the following page:

So I am going to revoke access to my GitHub as I can always set it up in future if I need it.
Push any workflow file(s) to our repo:
Finally let's push any workflow files to our GitHub repo.
And we are finally done. Whenever you merge into the main branch. Github actions will automatically run the flutter build web and deploy the latest build to Firebase Hosting.
Initialize Existing Project into firebase.json:
This is our current hosting setup in firebase.json:
"hosting": {
    "source": ".",
    "ignore": [
      "firebase.json",
      "**/.*",
      "**/node_modules/**"
    ],
    "frameworksBackend": {
      "region": "us-west1"
    }
  }
If firebase.json is located at the root of the project. Change the following
{
  "hosting": {
    "source": "./"
  }
}
Testing our Firebase Web App
Now test it by running the following command:
firebase serve
This is the terminal output get:

As you can see I can get test my app on local host:

So it's working perfectly.
Deploy your Flutter App
Finally we can deploy it using the following command:
firebase deploy
This is my terminal output:

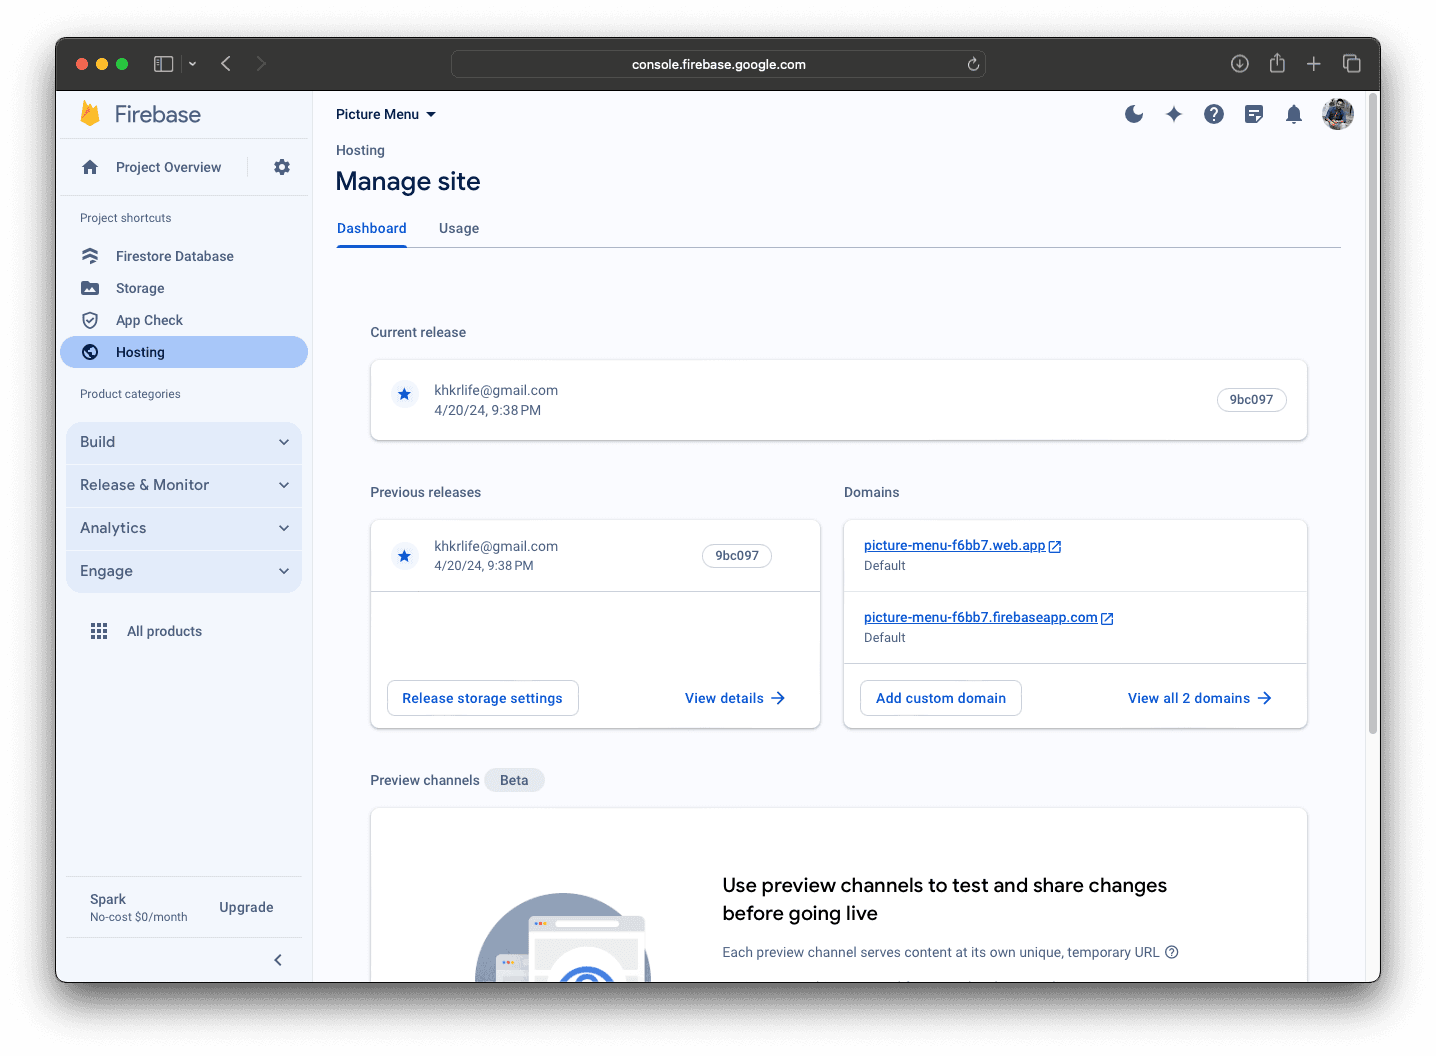
And this is my firebase:

As we can see when I click on the url I am able to access my flutter app:

And we are finally done. Congratulations on successfully deploying the flutter app on to your Firebase Hosting 🎉.